High-quality product images don’t start in Photoshop, they start before retouching even begins.
Many ecommerce brands spend money on professional photo retouching but still get average results. Why? Because the images weren’t prepared correctly.
In this complete, professional ecommerce workflow guide, you’ll learn how to prepare product photos for retouching the same way top-selling brands do so your images look premium, load faster, cost less to edit, and convert more shoppers into buyers.
Whether you sell on Amazon, Shopify, WooCommerce, Etsy, or your own website, this guide will save you time, money, and frustration.
Why Proper Image Preparation Is Critical for Ecommerce Success
Retouching is not magic. It enhances what already exists.
When images are poorly prepared:
- Colors become inaccurate
- Edges look rough after background removal
- Retouching takes longer (higher cost)
- Multiple revisions are needed
- Final images look unnatural
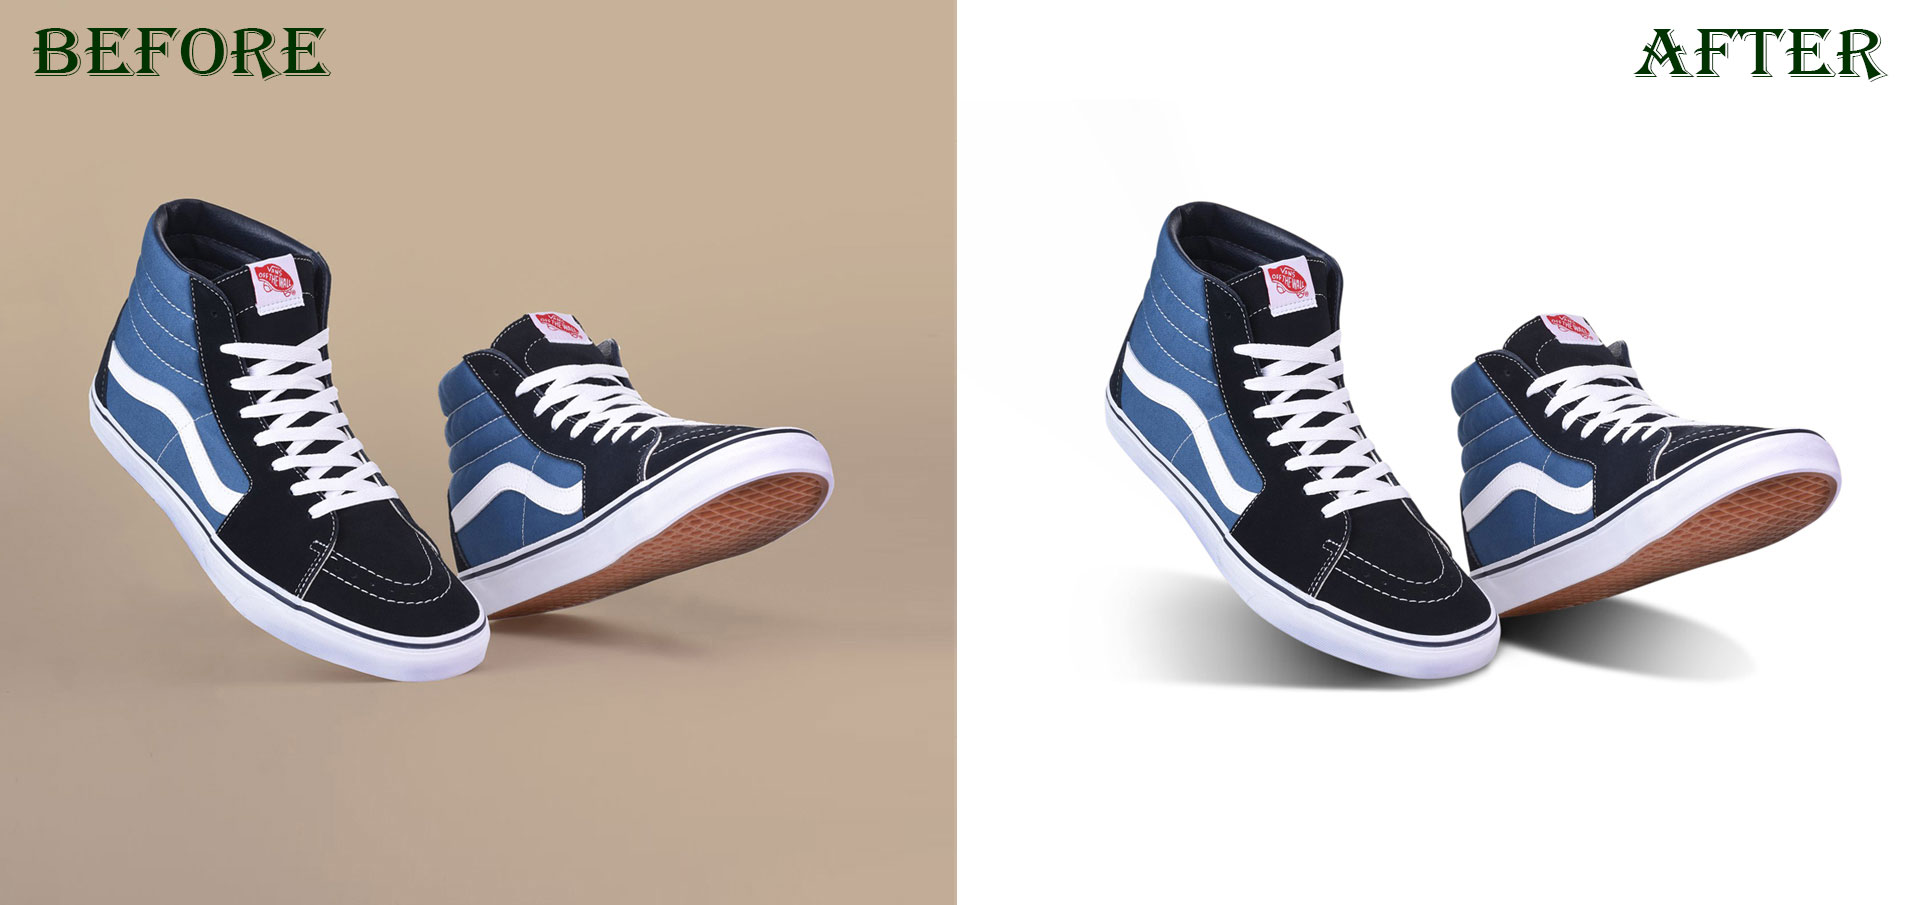
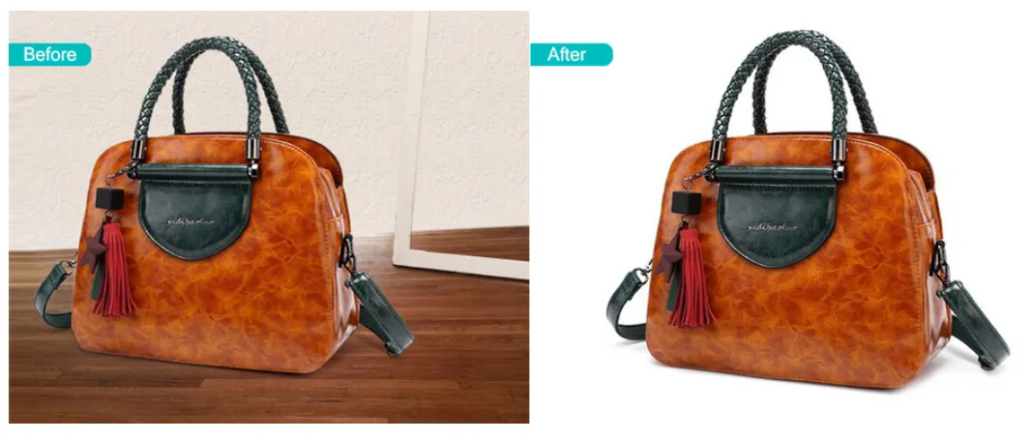
When images are prepared professionally:
- Editing is faster and cleaner
- Results look realistic and premium
- Bulk orders are processed smoothly
- Conversion rates improve
- Your brand looks trustworthy
👉 Professional ecommerce brands never skip preparation.
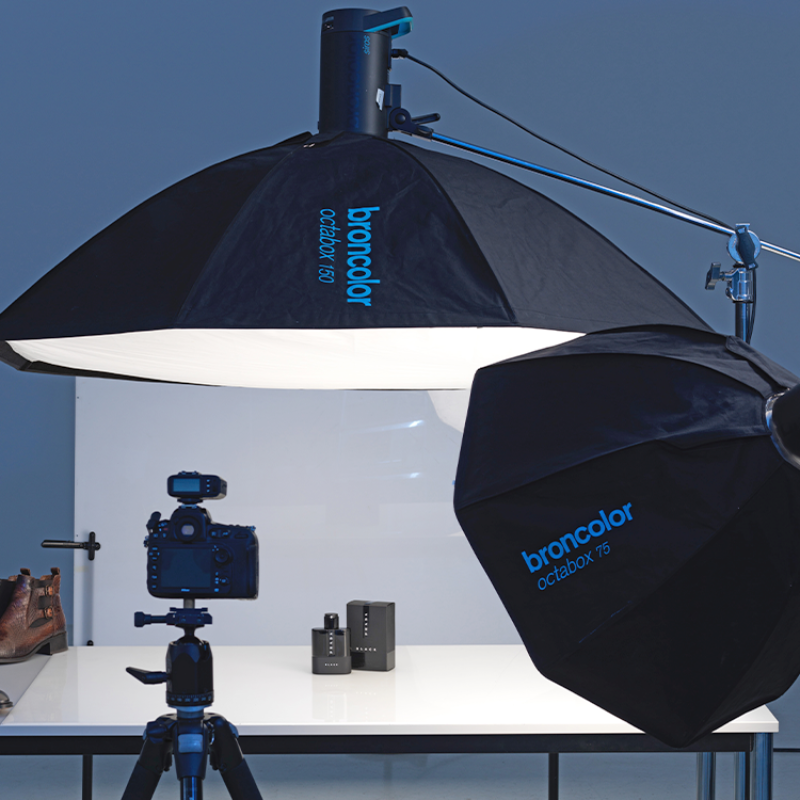
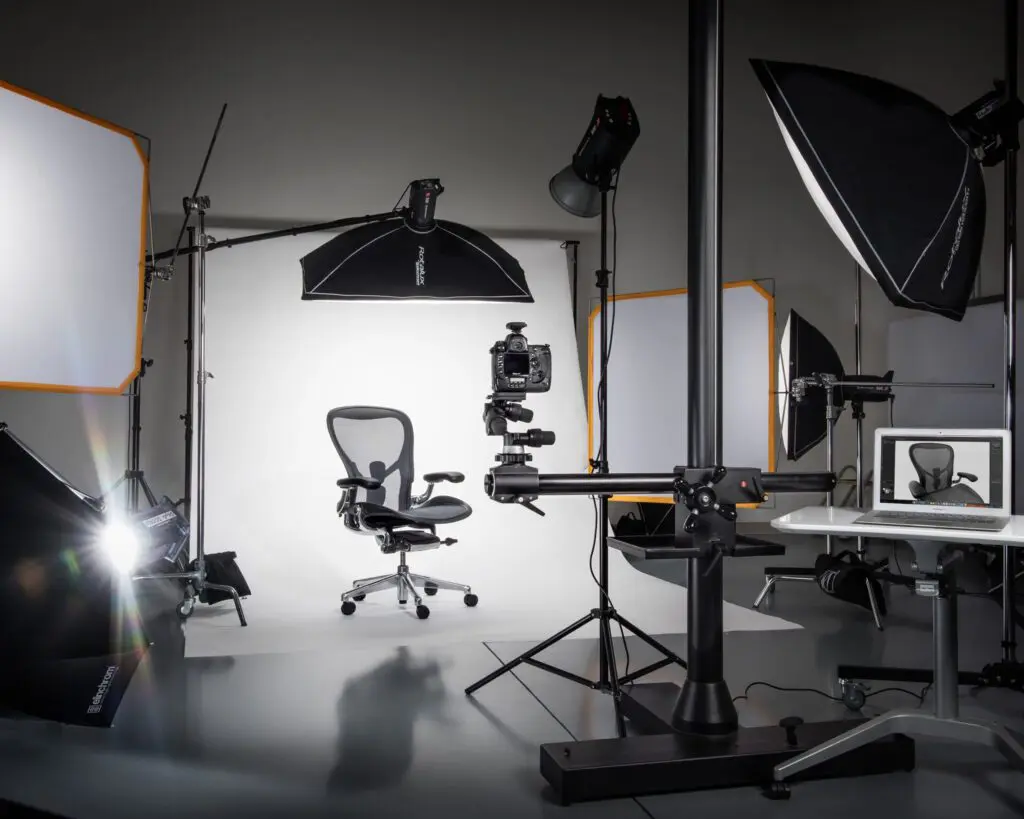
Step 1: Capture Clean, Consistent Source Images (Foundation Step)
The quality of retouching depends heavily on the original photography.
Best Practices for Ecommerce Photography:
- Use consistent lighting across all products
- Avoid mixed color temperatures
- Use a neutral background (white or light gray)
- Keep camera settings consistent
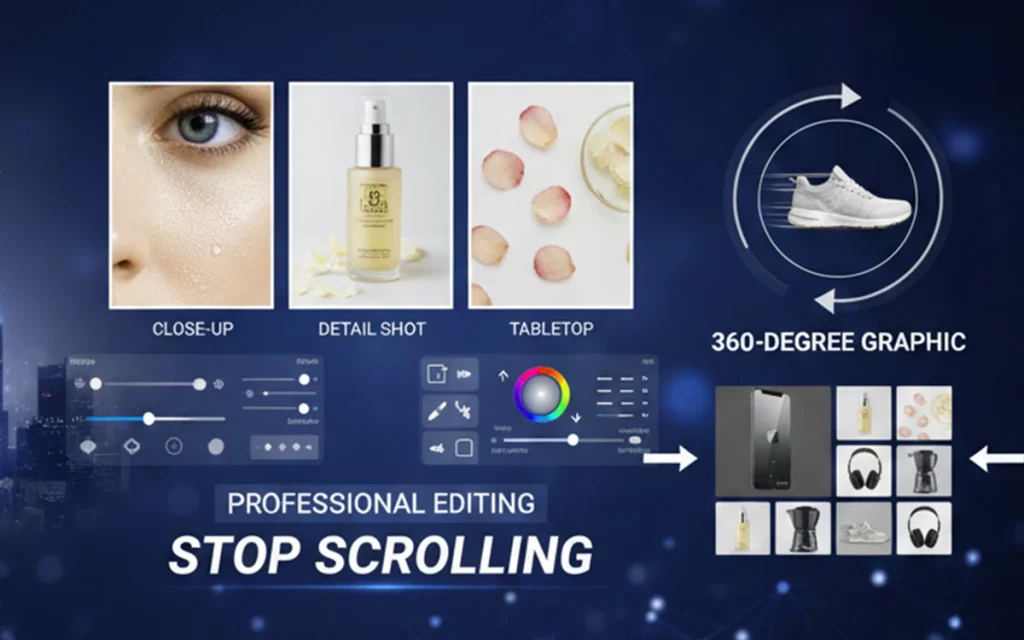
- Shoot multiple angles (front, back, side, detail)
- Capture extra detail shots for texture-heavy products

🔎 Why this matters:
Inconsistent lighting creates uneven shadows and color shifts — increasing retouching time and reducing realism.
Step 2: Use the Correct File Format & Color Profile
Sending the wrong file format is one of the most common ecommerce mistakes.
Best File Formats for Retouching:
- RAW / TIFF → Best quality and flexibility
- PSD → Ideal for layered editing
- High-resolution JPG → Acceptable if RAW isn’t available
🚫 Avoid:
- Compressed images
- Screenshots
- WhatsApp or social-media-downloaded files
Color Profile Best Practice:
- Use sRGB for ecommerce platforms
- Keep color profiles consistent across all images
🎯 Goal: Accurate colors = fewer returns + higher trust.
Step 3: Organize Files for Bulk Retouching Efficiency
Professional retouching workflows rely on perfect organization.
Recommended Folder Structure:
/Product_Name
   /RAW
   /Final_Selection
   /Reference
Professional File Naming:
SKU001_front.jpg
SKU001_side.jpg
SKU001_back.jpg
SKU001_detail.jpg
📌 Why this matters:
Clear naming eliminates confusion, prevents mistakes, and speeds up bulk photo retouching service delivery.
Step 4: Pre-Clean Images Before Sending for Retouching
Before submitting images:
- Remove unnecessary shots
- Crop excessive empty space
- Select only final images for editing
💡 Pro Insight:
Sending 200 images when only 120 are needed increases cost without improving results.
Step 5: Apparel-Specific Preparation (Ghost Mannequin Ready)
Fashion and apparel images require special preparation.
Ghost Mannequin Preparation Checklist:
- Capture mannequin fully (including neck & sleeves)
- Shoot inner neck and label images
- Smooth wrinkles physically before shooting
- Keep garments symmetrical
- Avoid clipping or folding fabric
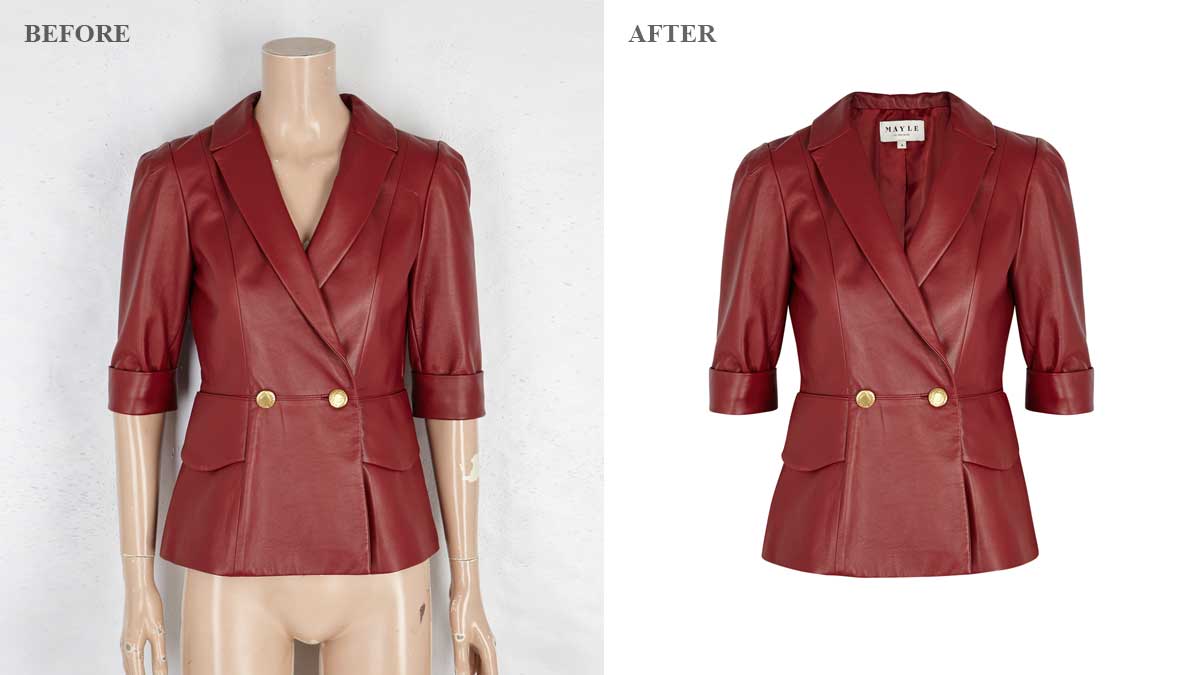

This enables retouchers to create:
- Clean hollow-neck effects
- Realistic 3D clothing structure
- Professional fashion catalogs
Step 6: Write a Clear Retouching Brief (Most Important Step)
Never send images without instructions.
Include These Details:
- Background color (pure white, transparent, lifestyle)
- Shadow preference (natural, drop, reflection)
- Color accuracy priority
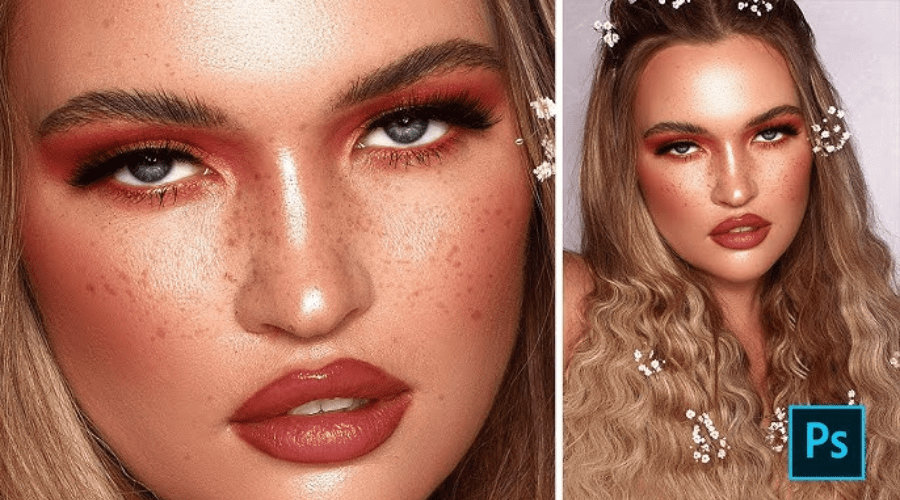
- Fabric smoothing level
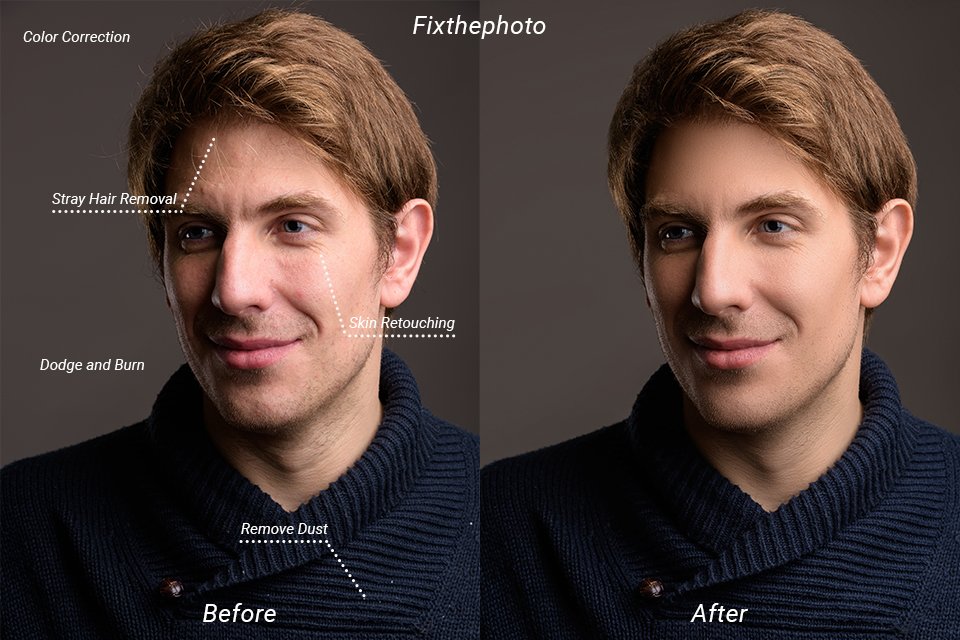
- Skin retouching preference (if applicable)
- Platform requirements (Amazon, Shopify, web banners)
📌 Best Practice:
Attach 1 reference image to avoid misunderstandings.
Clear briefs = fewer revisions + faster turnaround.
Step 7: Post-Retouch Quality Control (Do NOT Skip)
Always review edited images before publishing.
Ecommerce Image QA Checklist:
- Edges are clean and natural
- Colors match the real product
- No dust, scratches, or artifacts
- Shadows look realistic
- Image size meets platform guidelines
Only publish images that pass 100% quality approval.
Common Preparation Mistakes That Hurt Sales
Avoid these costly errors:
- ❌ Low-resolution uploads
- ❌ No file naming system
- ❌ Mixed lighting conditions
- ❌ No retouching instructions
- ❌ Over-editing requests
Natural, clean images always outperform over-processed visuals.
How Proper Preparation Increases Ecommerce Conversions
Prepared and professionally retouched images:
- Build customer trust
- Improve click-through rates
- Reduce product returns
- Strengthen brand perception
- Increase average order value
This is why successful ecommerce brands invest in professional photo retouching workflows, not shortcuts.
Final Thoughts
Preparing product photos for retouching is not a technical detail — it’s a growth strategy.
When done correctly:
- Retouching costs decrease
- Turnaround time improves
- Image quality becomes consistent
- Sales performance increases
🚀 Want Professional Results Without the Hassle?
Upload 3 sample product images and get a free professional retouching evaluation from RetouchPort.
👉 Upload Your Images – Free Review